Troubleshooting Guide
This troubleshooting guide is designed to assist service technicians. Only those who have appropriate qualifications to work on refrigeration equipment should attempt to troubleshoot or repair a CW-30. Always unplug equipment before servicing or removing access panels.
What describes the problem you're experiencing?
The CW-30 must be turned off (slide thermosat switch to "off" position) for a minimum of 48 hours to completely defrost the evaporator coil. With a flashlight look through the coil to confirm all areas are free of frost/ice and then press "next".
Locate the control panel access cover (panel with nameplate) and listen carefully to the sound the unit is making for a minimum of 2 minutes (panel does not need to be removed). Does the unit make an irregular sound lasting 1-3 seconds that repeats itself within a 30-60 second time interval?
Locate the supply (discharge) air grille and listen to the sound of the fan for at least 2 minutes. Does the fan sound like it slows down for a 1-3 second interval within a 30-60 second time period?
You're done!
Reset electrical breaker. Is the CW-30 now working?
Contact an electrician to determine why there is no power at the receptacle.
Is there power at the receptacle to the CW-30? (Test with a small appliance, e.g. a hair dryer).
Try resetting the (horizontal) low pressure switch. Is the CW-30 now working? 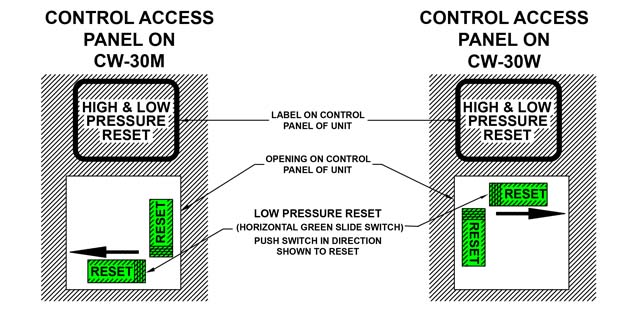
Try resetting the (vertical) high pressure switch. Is the CW-30 now working? 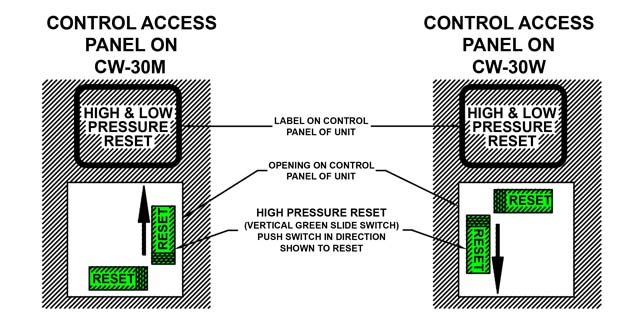
What does the display show?
Turn dial counter-clockwise. Display will flash indicating the setpoint temperature. Adjust so that the setpoint is below the room temperature. Is there a snowflake in the lower right corner of the display?
Please contact us to resolve this issue.
Condensate pump has likely failed (perhaps due to a restricted condensate drain line).
Contact SupportCarefully remove the float switch from the pump body.
When the float is in the down position the unit should operate.
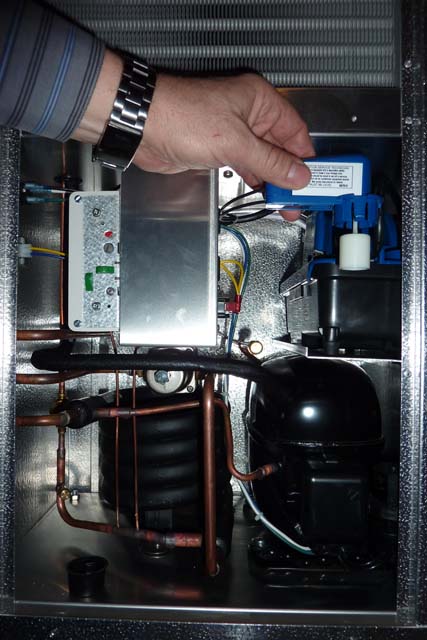
When the float is put in the up position the unit should stop.
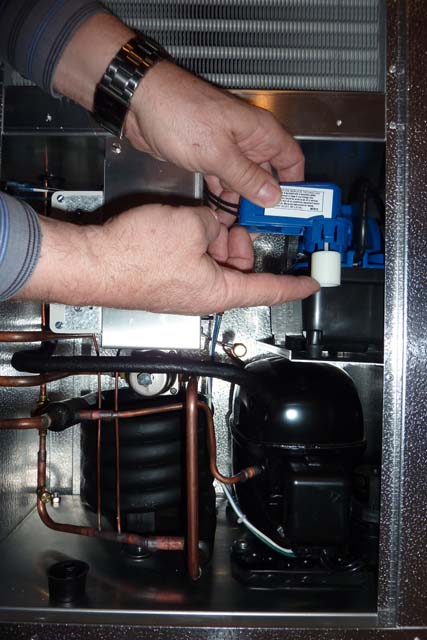
Does the unit start when the float is in the "down" position?
Carefully remove the float switch from the pump body.

When the float is in the down position the unit should operate.
When the float is put in the up position the unit should stop.
Does the unit start when the float is in the "down" position?
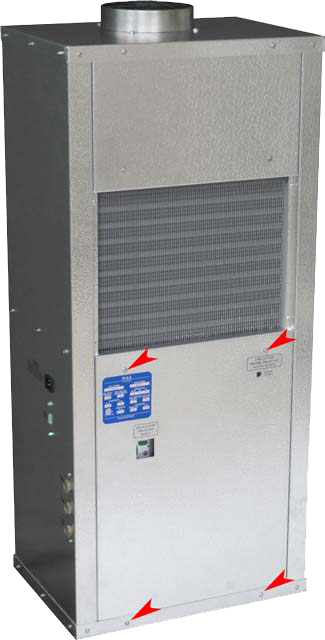
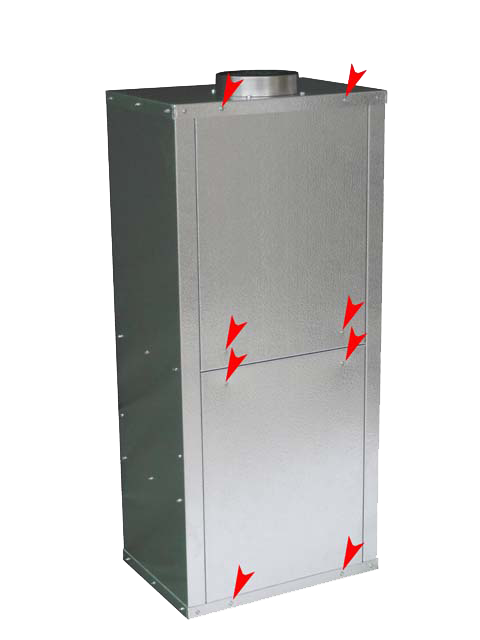
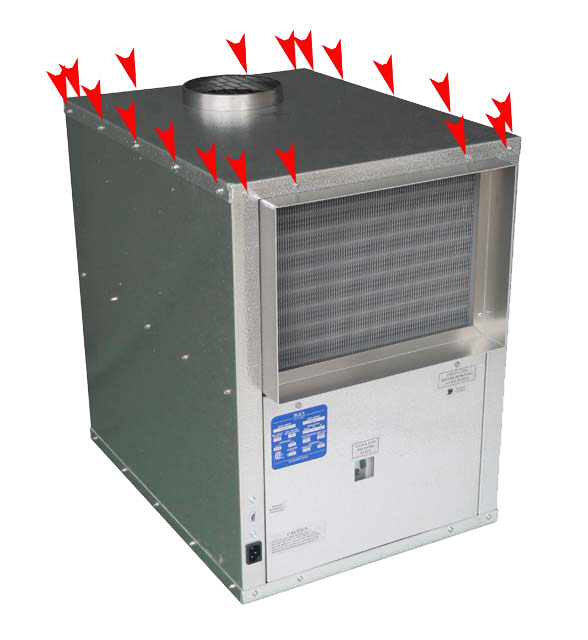
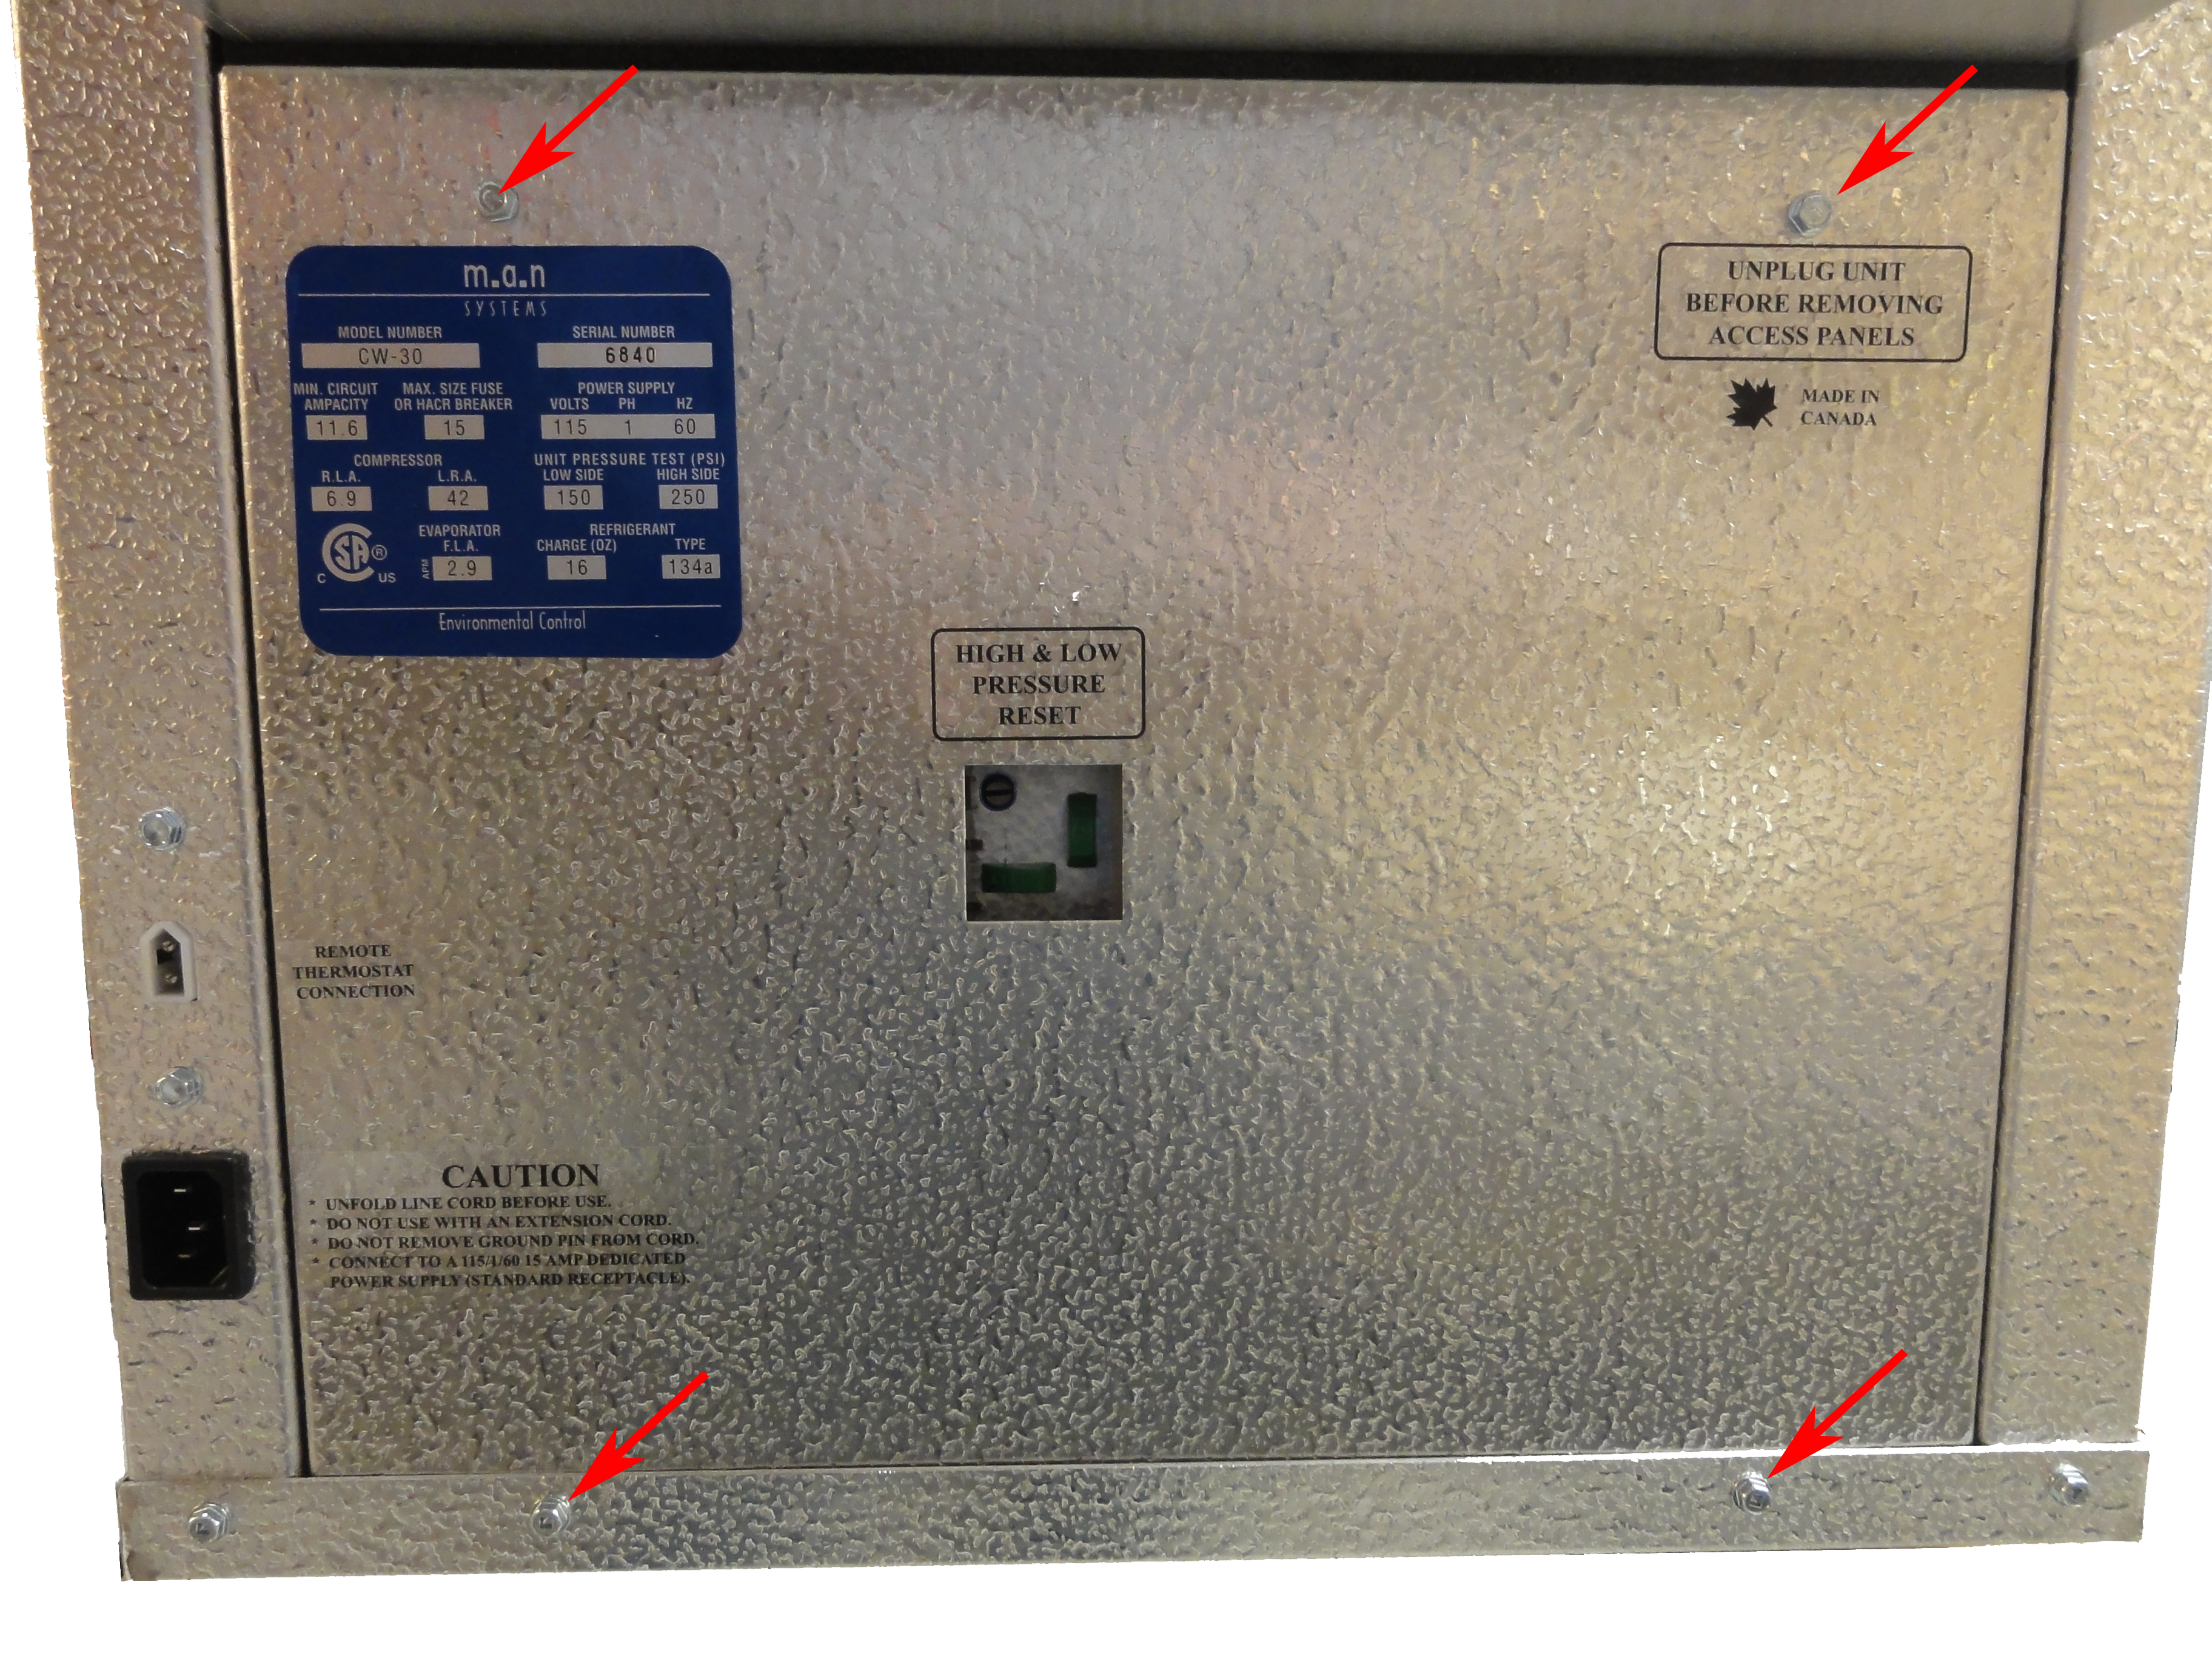
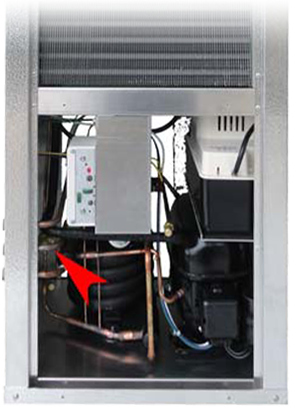
Remove the control panel access cover (panel with nameplate) by first removing the 4 screws that hold it in place.
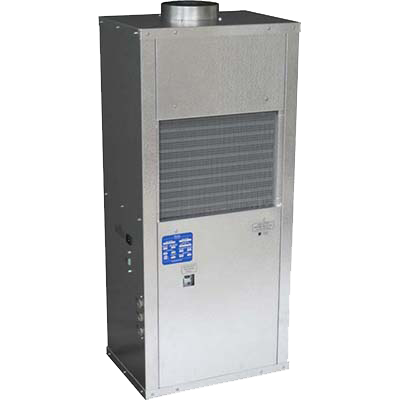 CW-30W
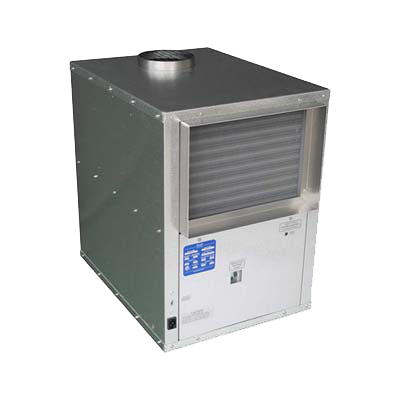 CW-30M
Check the serial number of your unit. (located on the nameplate) Is the serial number a four digit number greater than 7777?
Check power cord connection to CW-30 and ensure it is inserted securely. Check thermostat wiring harness and ensure it is inserted securely. Is the CW-30 now working?
Press the down arrow. The display will flash indicating the setpoint temperature. Adjust so that the setpoint is below the room temperature. Is there a snowflake in the lower right corner of the display?
Open all valves and reset vertical switch. Is the unit working now?
Change the batteries in the thermostat. Refer to Thermostat Manual Make sure that a fresh, unused set of batteries are used. Confirm the batteries are installed correctly. Is the display still blank?
What type of thermostat do you have?
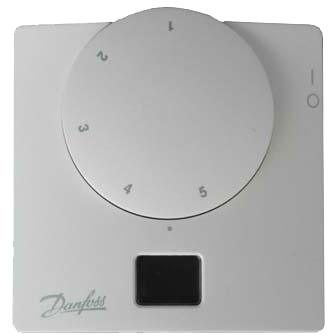
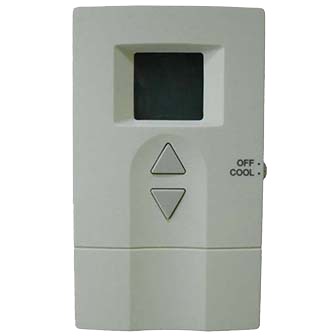
Is there a snowflake in the lower right corner of the display?
Remove the rear upper and lower access covers and check for water in the condensate tray. If water is not draining down freely into the condensate pump, confirm that the condensate tray drain opening is not plugged. Next, confirm that the plastic drain tube that directs water from the condensate tray down into the condensate pump is not restricted. Clean until free of all debris; water should drain down freely into the condensate pump.
If you still experience issues, please contact our technical support.
Contact SupportRemove the top of the unit and check for water in the condensate tray. If water is not draining down freely into the condensate pump, confirm that the condensate tray drain opening is not plugged. Next, confirm that the plastic drain tube that directs water from the condensate tray down into the condensate pump is not restricted. Clean until free of all debris; water should drain down freely into the condensate pump.

If you still experience issues, please contact technical support.
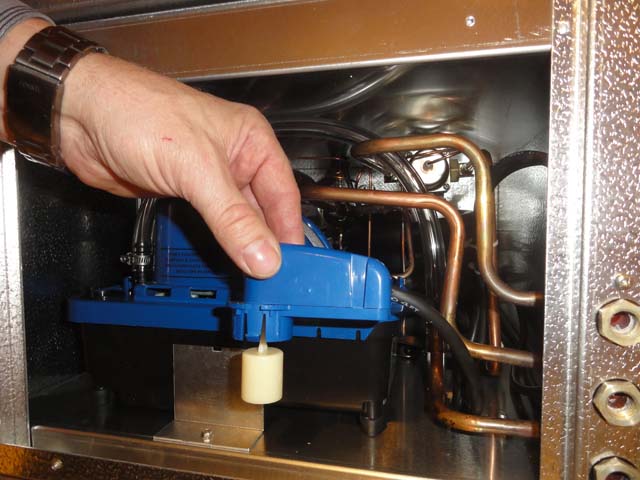
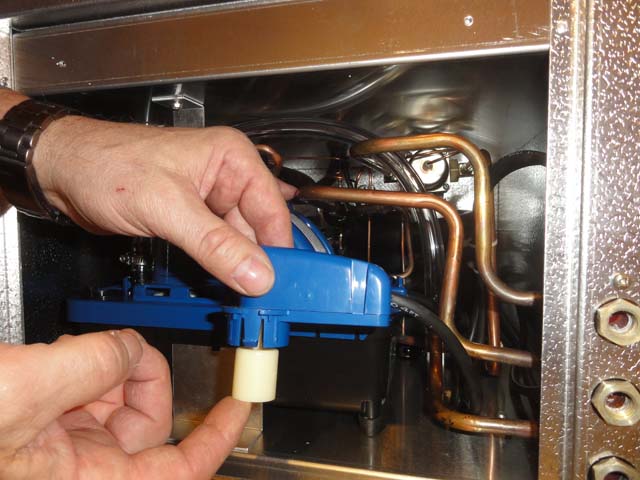
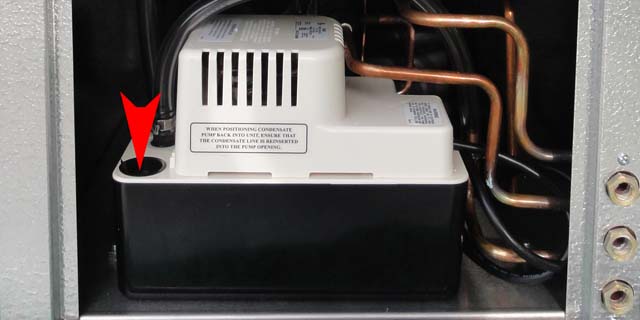
Contact SupportRemove black plastic plug (see image below).
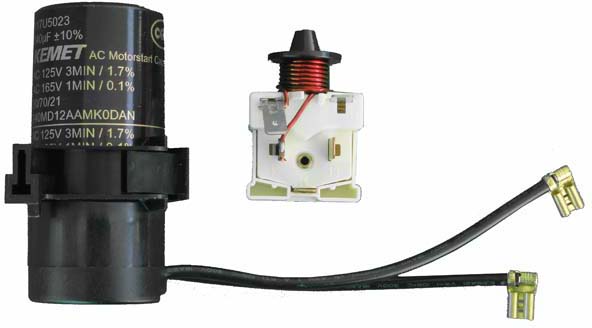
Is the condensate pump full of water? (Style and color of pump may vary.)
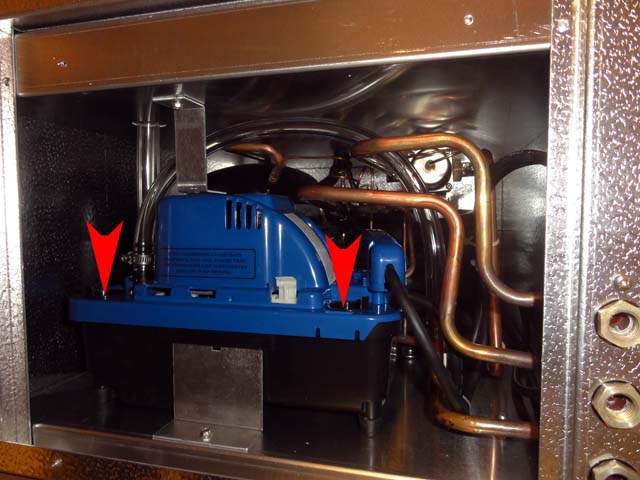
Remove black plastic plug (see image below).
Is the condensate pump full of water? (Style and color of pump may vary.)
Remove the control panel access cover (panel with nameplate) by first removing the 4 screws that hold it in place.
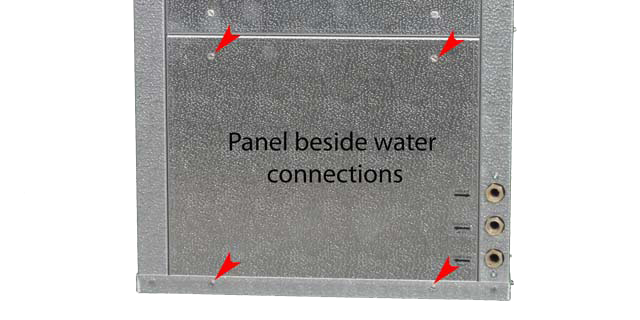
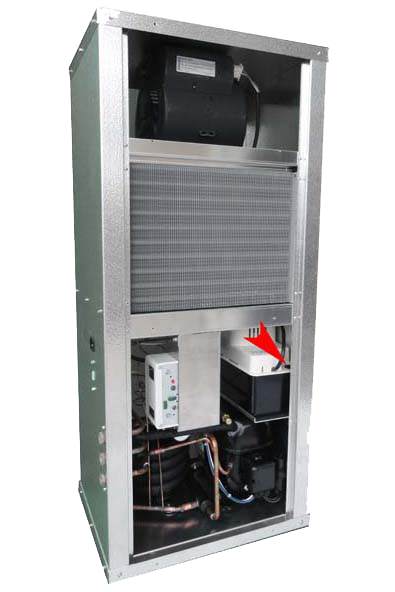
Remove the access panel that is located just left of the three plumbing connections by first removing the 4 screws that hold it in place.
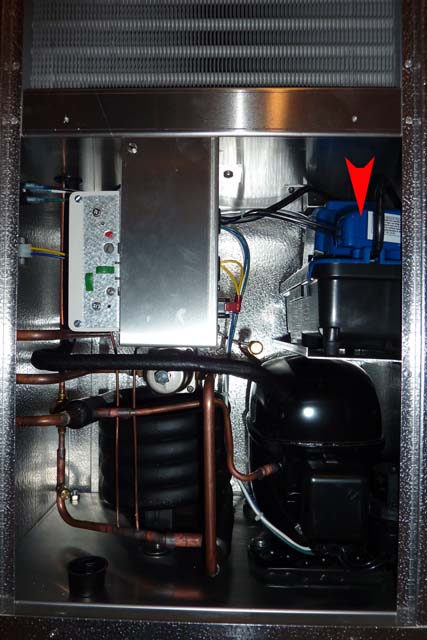
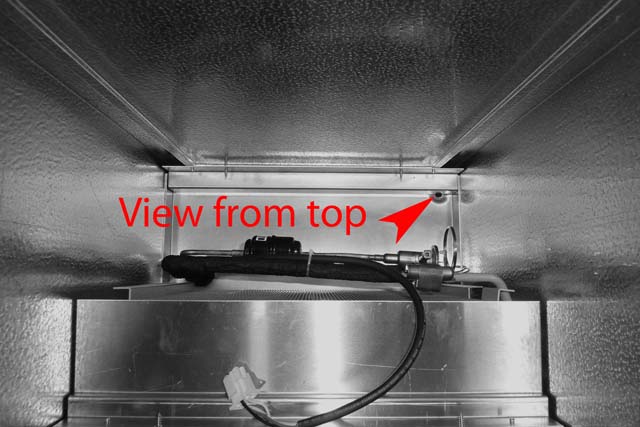
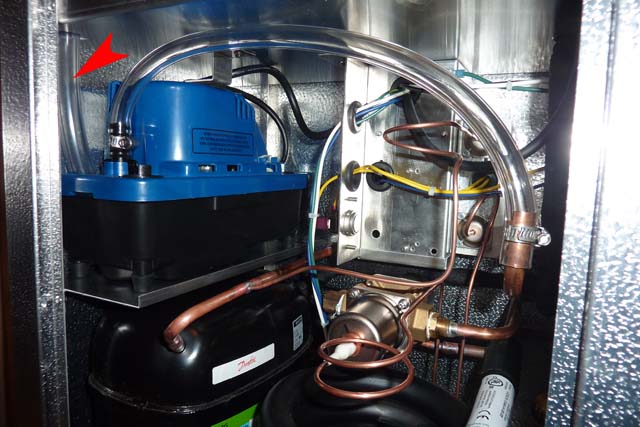
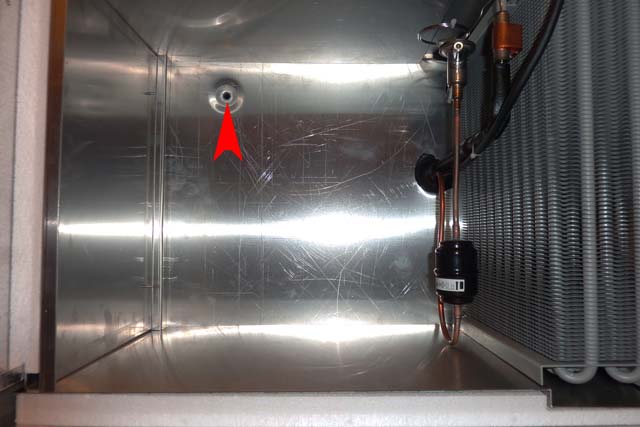
Remove the control panel access cover (panel with nameplate), locate the sight glass (see images below for location) and observe the sight glass while the unit is operational and after it has been running for a minimum of 15 minutes.
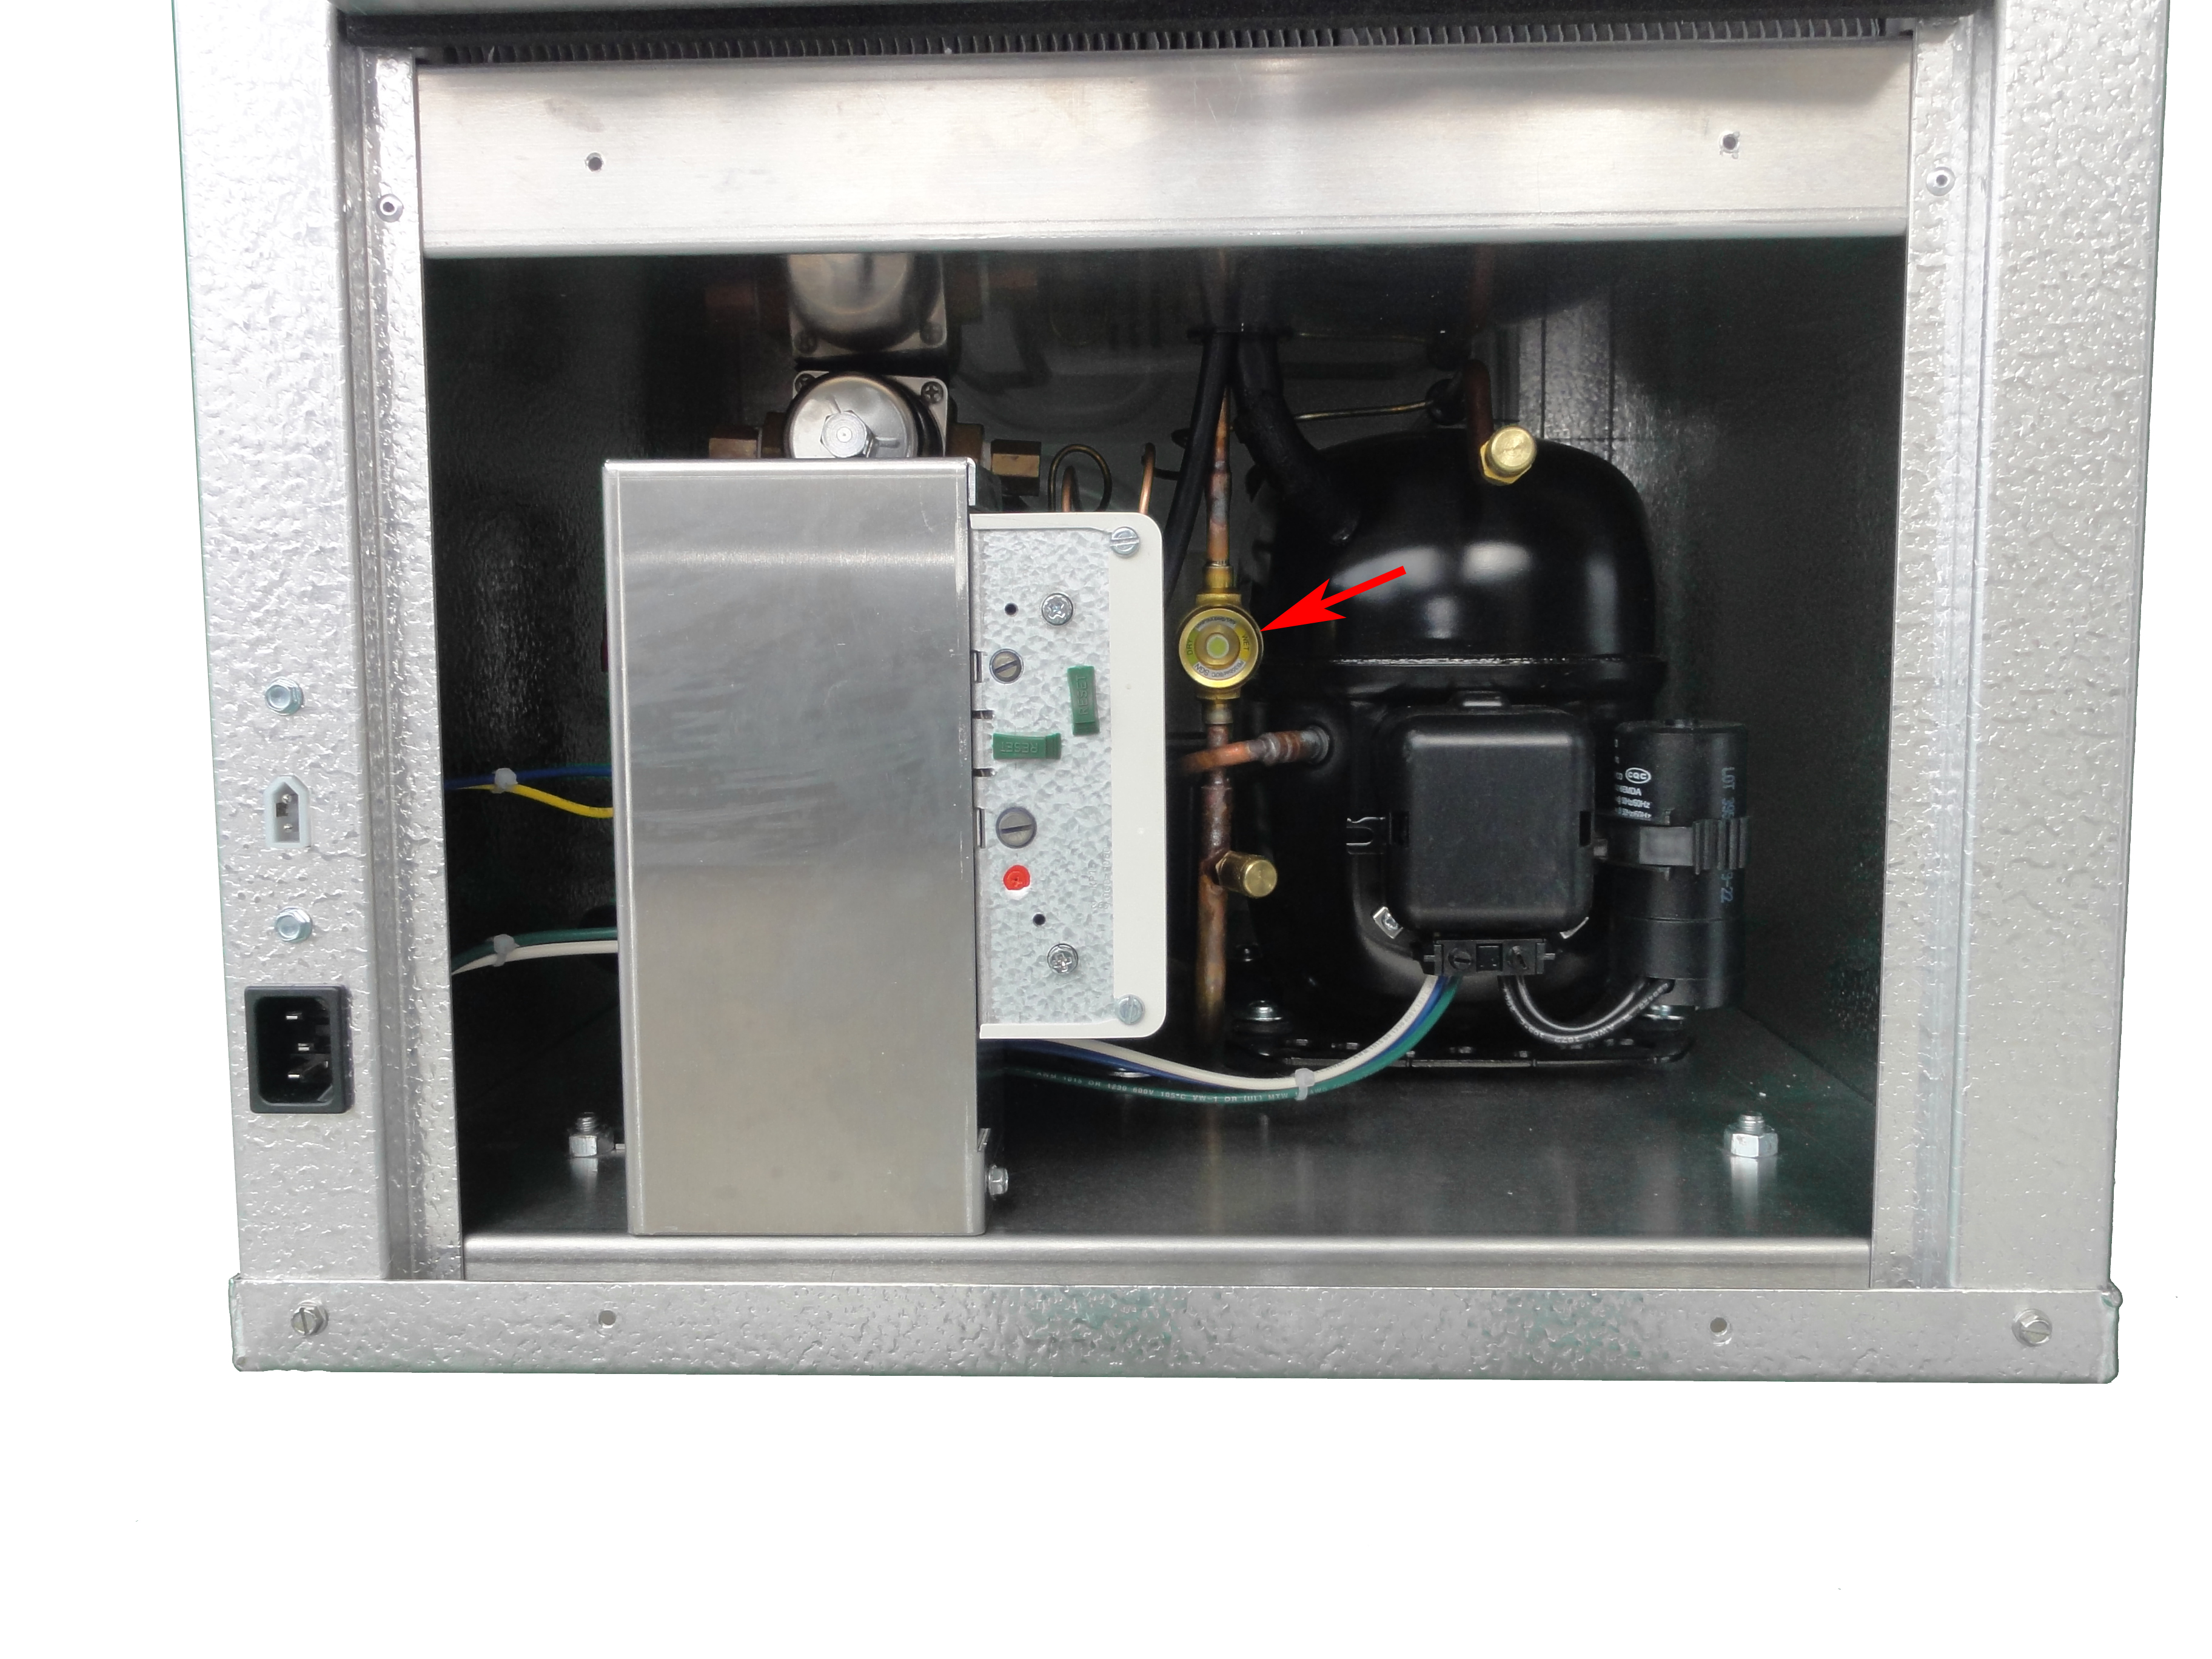
What does the sight glass look like?
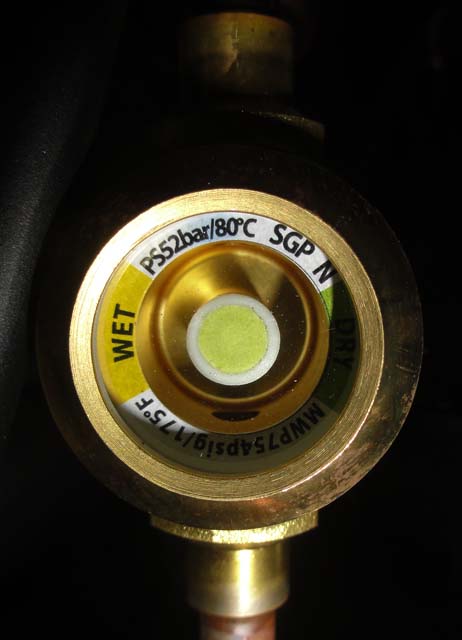 Clear
Clear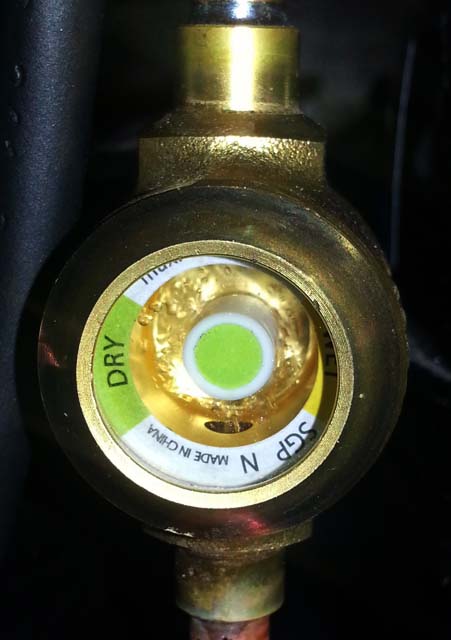 Few bubbles
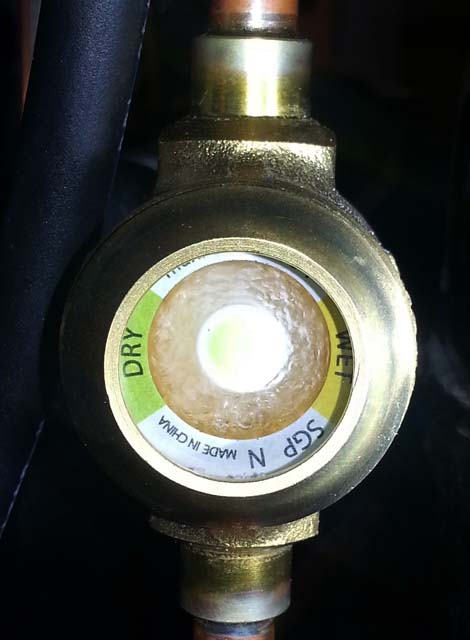 Lots of bubbles
Remove the control panel access cover (panel with nameplate), locate the sight glass (see images below for location) and observe the sight glass while the unit is operational and after it has been running for a minimum of 15 minutes.
What does the sight glass look like?